Create a PhoneGap project using either the PhoneGap CLI or the PhoneGap Desktop Application. For example:
phonegap create pgpush com.yourname.workshop.push PGPush
Navigate into the newly created project folder:
cd pgpush
The final application project we’ll be using is located here. It contains a solutions folder with the completed step by step lesson to reference. If you want to work along, copy the contents or download the zip file for the project or clone it with git:
git clone https://github.com/macdonst/push-workshop
Now copy the solutions/www1, config.xml and pg-wings.png files from the push-workshop project into your newly created project root and overwrite the default files currently there.
The config.xml file has some settings which will automatically install the project plugin dependencies, but you could optionally add them manually. The pg-wings.png is the default icon for this application referenced in config.xml.
Run the app using the PhoneGap CLI:
From the PhoneGap CLI: those with proper local setup can run on device with PhoneGap CLI with one of the following:
   $ phonegap run ios
   $ phonegap run ios --device
   $ phonegap run android
   $ phonegap run android --device
This option requires a mobile SDK setup. If you have Mac and Xcode you should be able to use iOS, but Android requires additional SDK installation and setup.
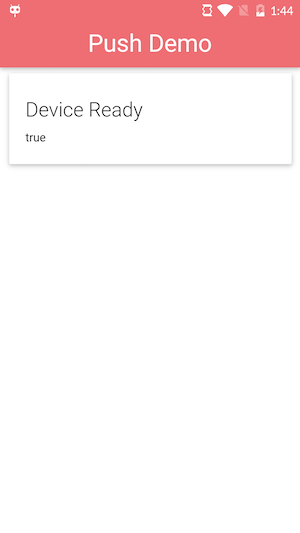
Ensure you see the application load with and you receive a deviceready event.