In this lesson we’ll learn how to launch to a specific location in your application based on data from the incoming push notification.
Open www/js/my-app.js and add replace the current push notification handler:
 push.on('notification', function(data) {
     console.log('notification event');
     var artist = data.additionalData.artist;
     if (artist) {
       showArtist(artist);
     } else {
       navigator.notification.alert(
           data.message,         // message
           null,                 // callback
           data.title,           // title
           'Ok'                  // buttonName
       );
     }

     push.finish(function() {
         console.log('success');
     }, function() {
         console.log('error');
     });
 });
Notice that the
artistproperty is added to theadditionalDataobject. If you send a property that doesn’t conform totitle,message,countorsoundit will be placed in theadditionalDataobject.
While still in www/js/my-app.js add the following function at the bottom of the file:
 function showArtist(artist) {
   document.getElementsByName("q")[0].value = artist;
   searchSubmit(new CustomEvent("noop"));
 }
Next refresh the application by using the four finger tap gesture.
Put your app in the background by pressing the home button.
Now we’ll need to modify the command we use to send a push to inform the device what url we want to show in our app.
For Android
Mac Terminal:
phonegap push --deviceID APA91bE1MmeTc92igNoi5OkDWUV --service gcm --payload '{ "data": { "title": "New Music", "message": "The Foo Fighters have released a new album", "artist": "Foo Fighters" } }'
Windows CMD Prompt:
phonegap push --deviceID APA91bE1MmeTc92igNoi5OkDWUV --service gcm --payload '{ "data": { "title": "New Music", "message": "The Foo Fighters have released a new album", "artist": "Foo Fighters" } }'
For iOS
Mac Terminal:
phonegap push --deviceID APA91bE1MmeTc92igNoi5OkDWUV --service apns --payload '{ "aps": { "alert": { "title": "New Music", "body": "The Foo Fighters have released a new album" } }, "artist": "Foo Fighters" }'
Windows CMD Prompt:
phonegap push --deviceID APA91bE1MmeTc92igNoi5OkDWUV --service apns --payload "{ \"aps\": { \"alert\": { \"title\": \"New Music\", \"body\": \"The Foo Fighters have released a new album\" } }, \"artist\": \"Foo Fighters\" }"
You should see the message arrive in the shade area just like before.

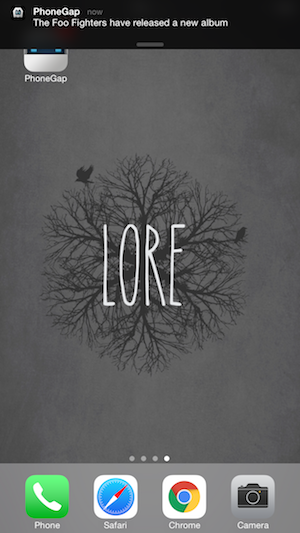
Now click on the notification and when your app opens you should see the following:
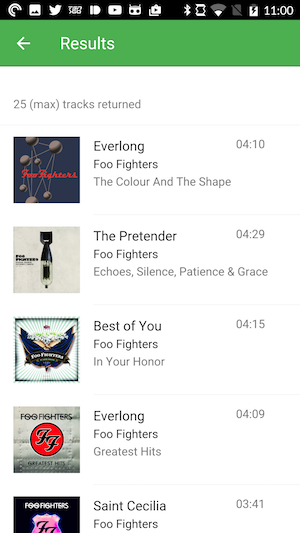
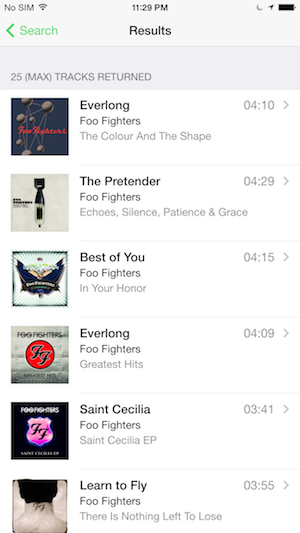
That’s great as we’ve been able to modify the logic of our application based on information contained in the push notification.
Now press the back button to go back to the Search page. While leaving the app in the foreground resend a push notification to the app using the method we talked about in step 5.
Whoa, we jumped to a Results page without any warning. Let’s set about fixing that. Open www/js/my-app.js and add replace the current push notification handler with:
 push.on('notification', function(data) {
     console.log('notification event');
     var artist = data.additionalData.artist;
     if (artist) {
       if (data.additionalData.foreground) {
         navigator.notification.confirm(
           'Do you want to check out some new music from ' + artist + '?',
           function(buttonIndex) {
             if (buttonIndex === 1) {
               showArtist(artist);
             }
           },
          'New Music',
          ['Yes','No']
        );
       } else {
         showArtist(artist);
       }
     } else {
       navigator.notification.alert(
           data.message,         // message
           null,                 // callback
           data.title,           // title
           'Ok'                  // buttonName
       );
     }

     push.finish(function() {
         console.log('success');
     }, function() {
         console.log('error');
     });
 });
We are using another property that is added to the
additionalDataobject calledforeground. You don’t have to explicitly send this property from your push service. The plugin itself will setforegroundtotruewhen the notification is received while the user is in your app andfalsein the app is in the background. This allows you to program different behaviors depending on how the notification was received.
Next refresh the application by using the four finger tap gesture.
While leaving the app in the foreground resend a push notification to the app using the method we talked about in step 5. You will now see the confirmation dialog pop up:
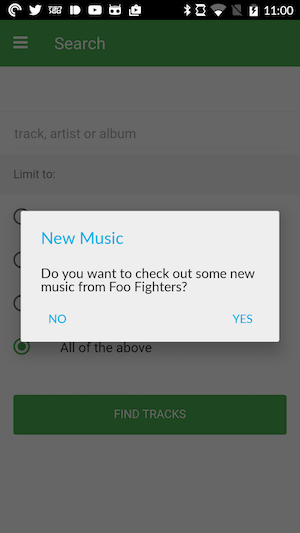
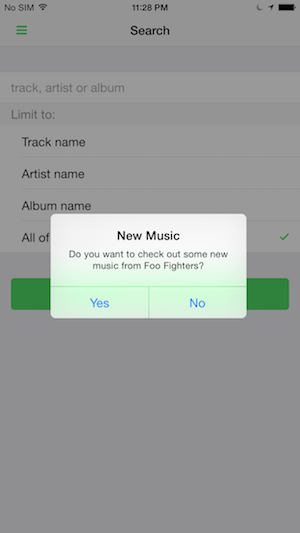
Clicking on the Yes button once again brings us to the Results page.