In this lesson we’ll learn how to launch to a specific location in your application based on data from the incoming push notification.
Open www/js/index.js and add replace the current push notification handler:
 app.push.on('notification', function(data) {
  console.log('notification event');
  if (data.additionalData.url) {
    app.toggle();
  } else {
    var cards = document.getElementById("cards");
    var push = '<div class="row">' +
      '<div class="col s12 m6">' +
      '  <div class="card darken-1">' +
      '    <div class="card-content black-text">' +
      '      <span class="card-title black-text">' + data.title + '</span>' +
      '      <p>' + data.message + '</p>' +
      '      <p>' + data.additionalData.foreground + '</p>' +
      '    </div>' +
      '  </div>' +
      ' </div>' +
      '</div>';
    cards.innerHTML += push;
  }

  app.push.finish(function() {
      console.log('success');
  }, function() {
      console.log('error');
  });
 });
Notice that the
urlproperty is added to theadditionalDataobject. If you send a property that doesn’t conform totitle,message,countorsoundit will be placed in theadditionalDataobject.
While still in www/js/index.js add the following code under the action button callbacks we added in the previous lesson:
   ,
   toggle: function (id) {
     var cats = document.querySelector("#cats");
     var cards = document.querySelector("#cards");
     if (cats.style.display === 'none') {
       cats.style.display = 'block';
       cards.style.display = 'none';
     } else {
       cats.style.display = 'none';
       cards.style.display = 'block';
     }
   }
Run the app using the PhoneGap CLI:
    $ phonegap run ios
    $ phonegap run ios --device
    $ phonegap run android
    $ phonegap run android --device
Put your app in the background by pressing the home button.
Now we’ll need to modify our push scripts to include the url we want to show in our app.
After the lines that add the title and body to your notification add the following line:
message.addData('url', 'cats');
node gcmServer.jsAfter the line that sets note.alert add the following line:
note.payload = {'url': 'cats'};
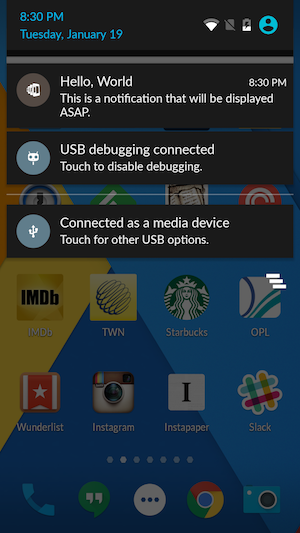
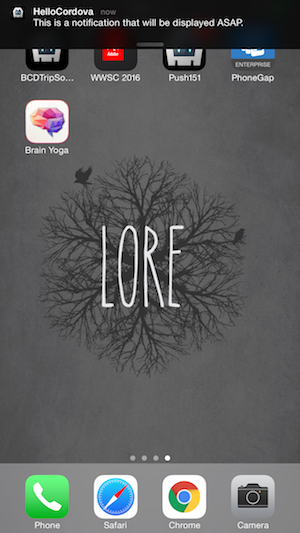
node apnsServer.jsYou should see the message arrive in the shade area just like before.
Now click on the notification and when your app opens you should see the following:


That’s great as we’ve been able to modify the logic of our application based on information contained in the push notification.
Now press the Close button to make the yawning cat go away. While leaving the app in the foreground resend a push notification to the app using the method we talked about in step 5.
That the cat came back without any warning. Let’s set about fixing that. Open www/js/index.js and add replace the current push notification handler:
 app.push.on('notification', function(data) {
  console.log('notification event');
  if (data.additionalData.url) {
    if (data.additionalData.foreground) {
      navigator.notification.confirm(
       'Do you want to see a cat picture?',
        function(buttonIndex) {
          if (buttonIndex === 1) {
            app.toggle();
          }
        },
       'Cat Pic',
       ['Yes','No']
     );
    } else {
      app.toggle();
    }
  } else {
    var cards = document.getElementById("cards");
    var push = '<div class="row">' +
      '<div class="col s12 m6">' +
      '  <div class="card darken-1">' +
      '    <div class="card-content black-text">' +
      '      <span class="card-title black-text">' + data.title + '</span>' +
      '      <p>' + data.message + '</p>' +
      '      <p>' + data.additionalData.foreground + '</p>' +
      '    </div>' +
      '  </div>' +
      ' </div>' +
      '</div>';
    cards.innerHTML += push;
  }

  app.push.finish(function() {
      console.log('success');
  }, function() {
      console.log('error');
  });
 });
We are using another property that is added to the
additionalDataobject calledforeground. You don’t have to explicitly send this property from your push service. The plugin itself will setforegroundtotruewhen the notification is received while the user is in your app andfalsein the app is in the background. This allows you to program different behaviors depending on how the notification was received.
While leaving the app in the foreground resend a push notification to the app using the method we talked about in step 3. You will now see the confirmation dialog pop up:
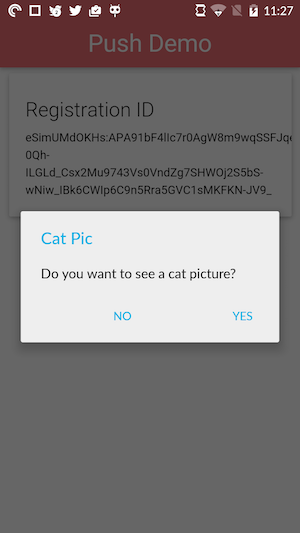
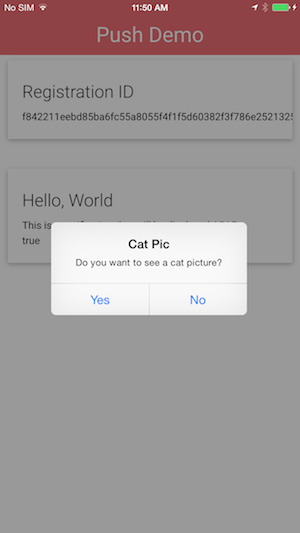
Clicking on the Yes button once again brings you to the yawning cat.
$ phonegap plugin add cordova-plugin-dialogs
You won’t need to specifically add it for this workshop if you used the project repo config.xml. If you are creating the project from scratch and using the CLI locally then use the command above.